Deploy your App
A Flutter app only becomes a product once it’s released into the world and other people can use it. You can do this deployment process manually, but setting up CI/CD will make life a lot easier.
CI/CD
This acronym stands for Continuous Integration and Continuous Deployment (or Delivery). These are automatic systems that check your code and are triggered based on conditions that you define. Here is the most common workflow and what we use.
CI
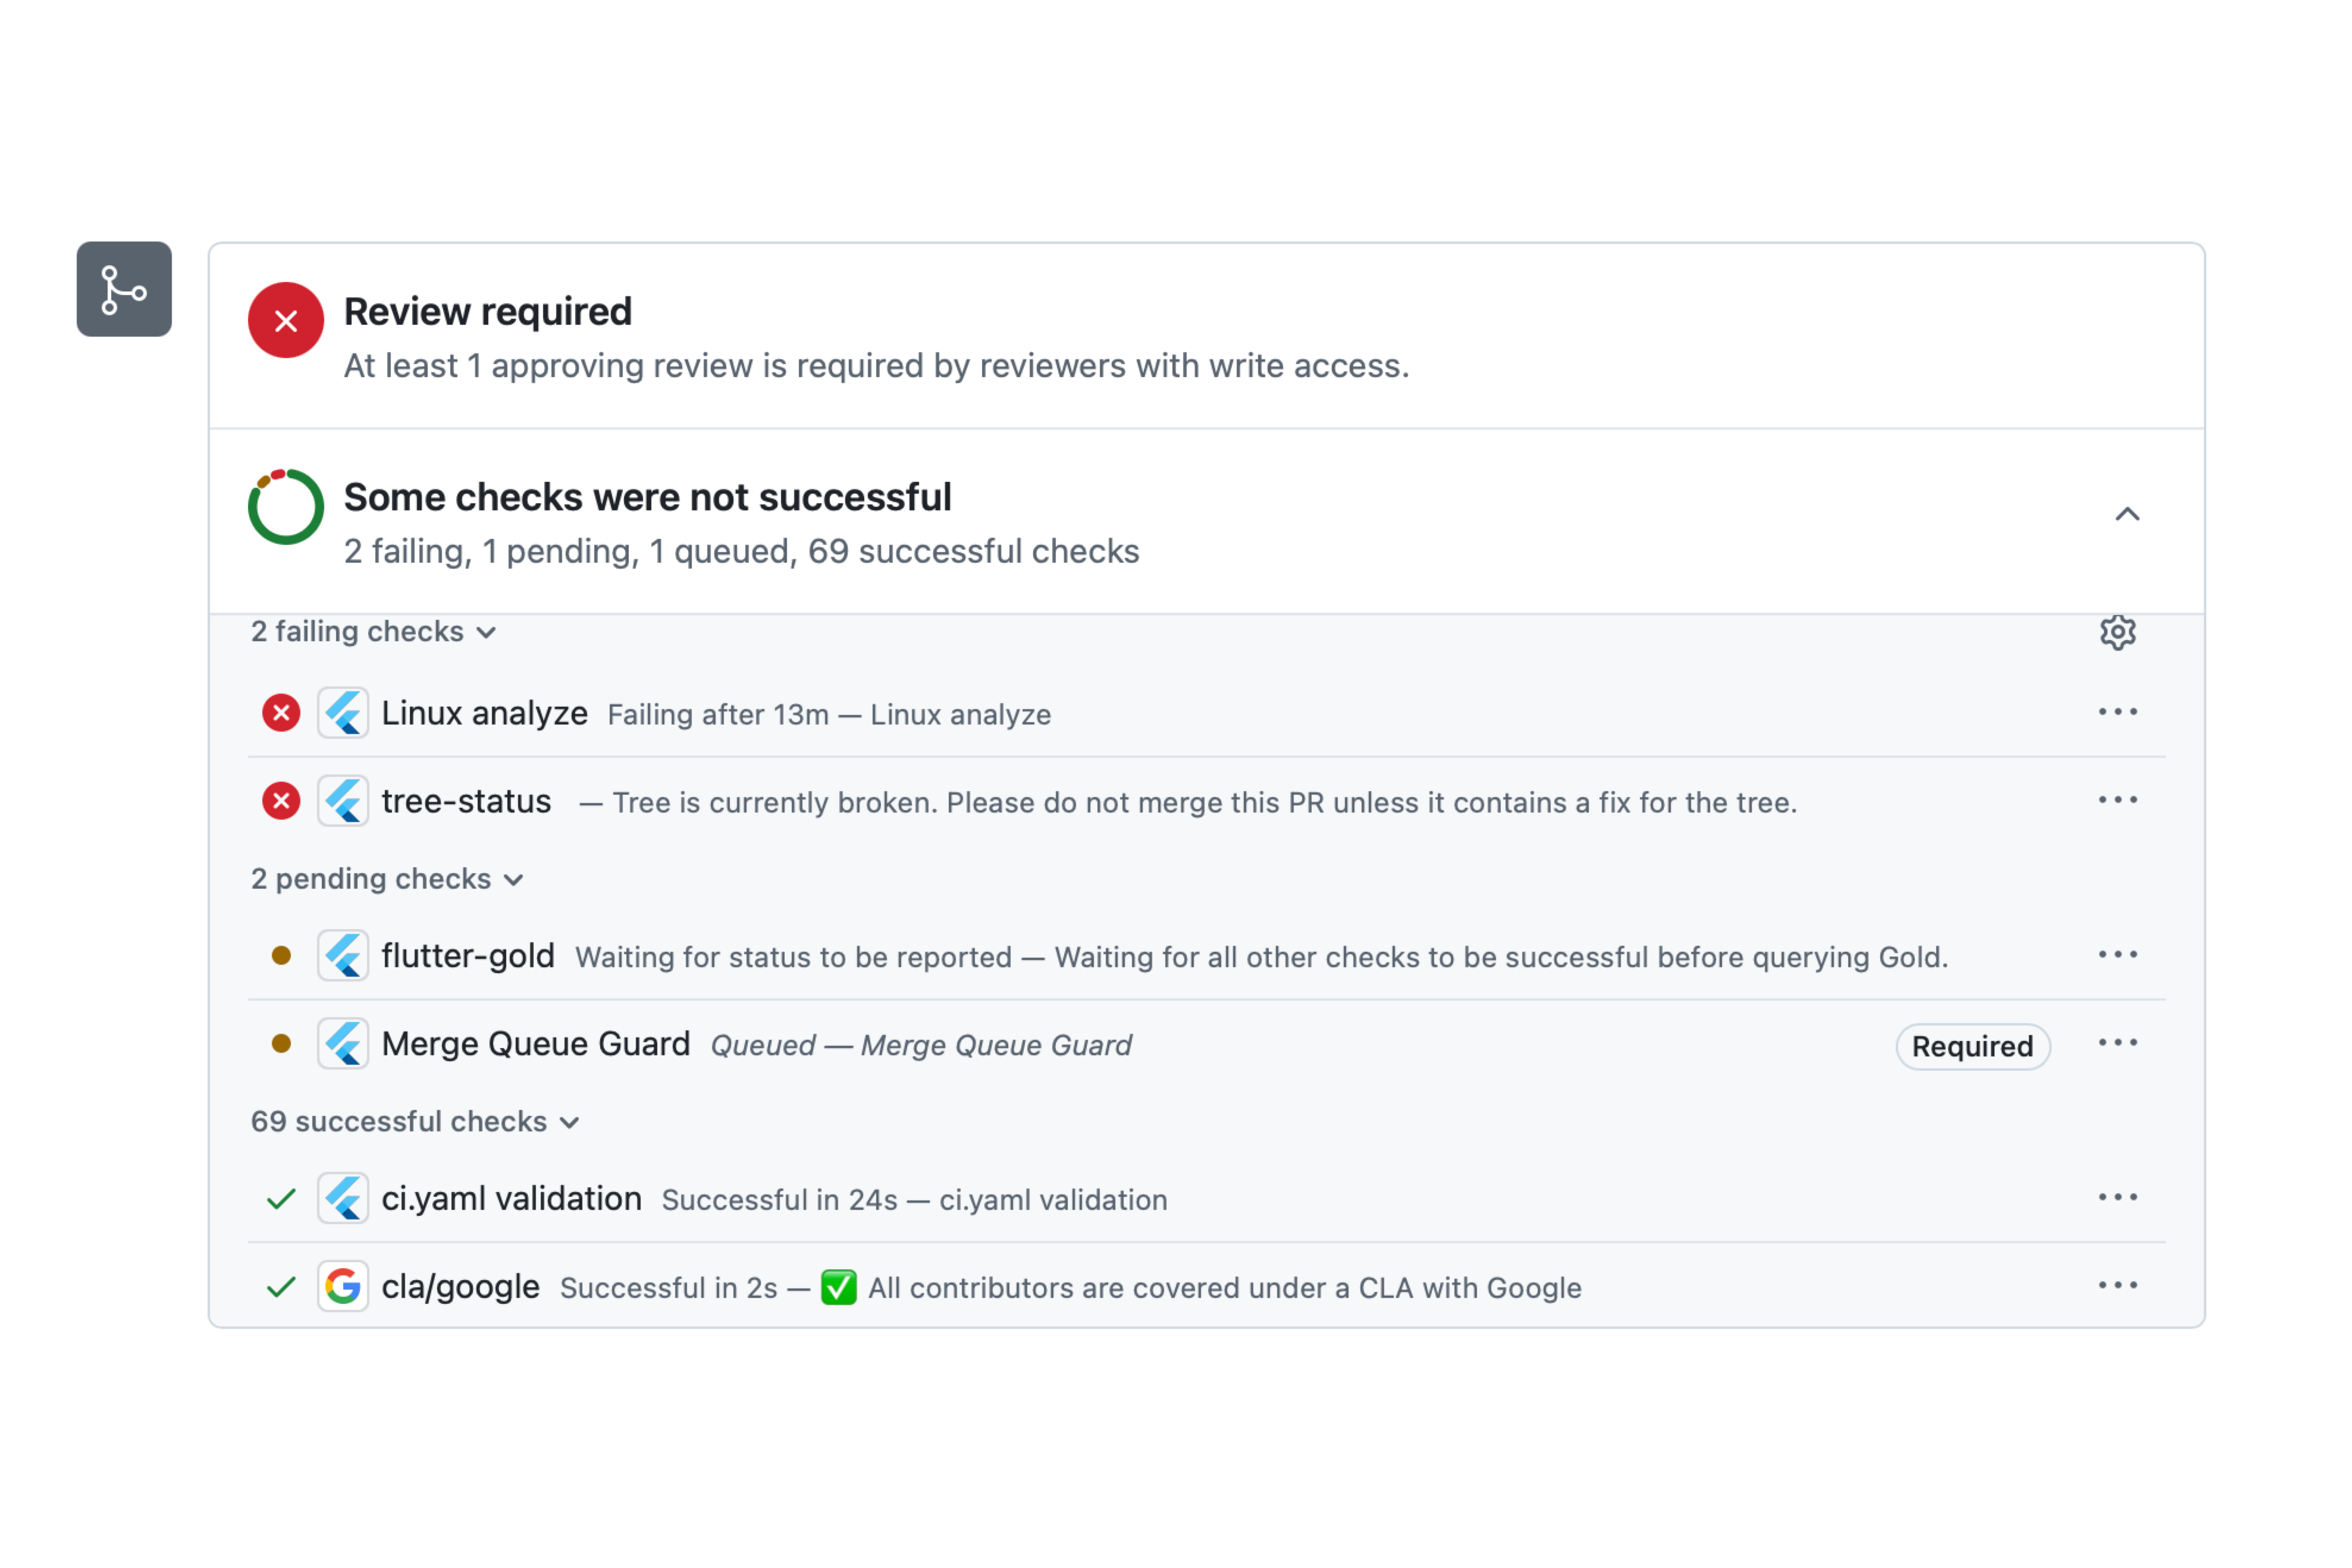
When working on code, you create a branch off of the main branch. Every time you make a commit, this branch will run the CI checks. And you are not allowed to merge the branch in until all those checks are successful.
You can see a ton of CI workflows within the official Flutter pull requests.

CD
The deployment automation gets triggered when your code is merged into main. Once all the CI checks are passing, once the code has been reviewed and approved, it should be ready to ship to production.
This is where you can go the manual path and spend lots of time creating a bundle and uploading it to all the different app stores you support. Or you can have a good CD system so you can go work on the next feature to make your product better.
Deploying on Web
There are two approaches you can take to deploy your Flutter app.
- Manually from the CLI
- Automatically from a GitHub action
There a few solutions you can use for both of these. Our preferred solution is Globe due to it’s simplicity, but you can use Firebase Hosting as well.
Via CLI
Globe
- Create an account with Globe.
- Install the Globe CLI
dart pub global activate globe_cli- Login to Globe
globe login- Deploy your app
globe deployFirebase
- Create an account with Firebase.
- Install the Firebase CLI
npm install -g firebase-tools- Login to Firebase
firebase login- Initialize Firebase
firebase initSelect Hosting and follow the prompts
What do you want to use as your public directory? build/webConfigure as a single-page app (rewrite all urls to /index.html)? YesSet up automatic builds and deploys with GitHub? NoFile build/web/index.html already exists. Overwrite? No- Deploy your app
firebase deployVia GitHub Action
Globe
- Push your code to a private GitHub repo
- Go to the Globe dashboard and import your GitHub repo
- The default settings are good, but make sure to select the latest Flutter version, or your build will fail
- Click
Deployand you’re done
Every time you push to your repo, Globe will automatically deploy your app.
Firebase Hosting
You need to create a service account to deploy to Firebase. Follow the GitHub Action Firebase Documentation.
Add the following GitHub workflow into your repository:
name: Deploy
on: push: branches: - main
env: FLUTTER_VERSION: "3.29.3" CHANNEL: "stable"
jobs: deploy-web: name: Deploy Web runs-on: ubuntu-latest steps: - uses: actions/checkout@v4
- uses: subosito/flutter-action@v2 with: channel: ${{ env.CHANNEL }} flutter-version: ${{ env.FLUTTER_VERSION }}
- name: Install dependencies run: flutter pub get
- name: Build web run: flutter build web
- uses: FirebaseExtended/action-hosting-deploy@v0 with: firebaseServiceAccount: "${{ secrets.FIREBASE_SERVICE_ACCOUNT }}" channelId: liveOnce this is set up, every time you commit changes to your repo, it will get deployed automatically.
Deploying on Other Platforms
Currently, we use Codemagic for CI/CD, click the link to see the most up to date guides.